Mini-Weld Thermocouple Attachment Unit

INTERNATIONAL DISTRIBUTION
SHIPS - NORTH AMERICA - 24 HOURS

Mining-Equipment-repair
Magnetic ceramic Pads-bright idea
Twin Heat Module-high quality
Twin heat module-user-friendly

Innovative Heat Treatment – MINI WELD -THERMOCOUPLE ATTATCHMENT UNIT

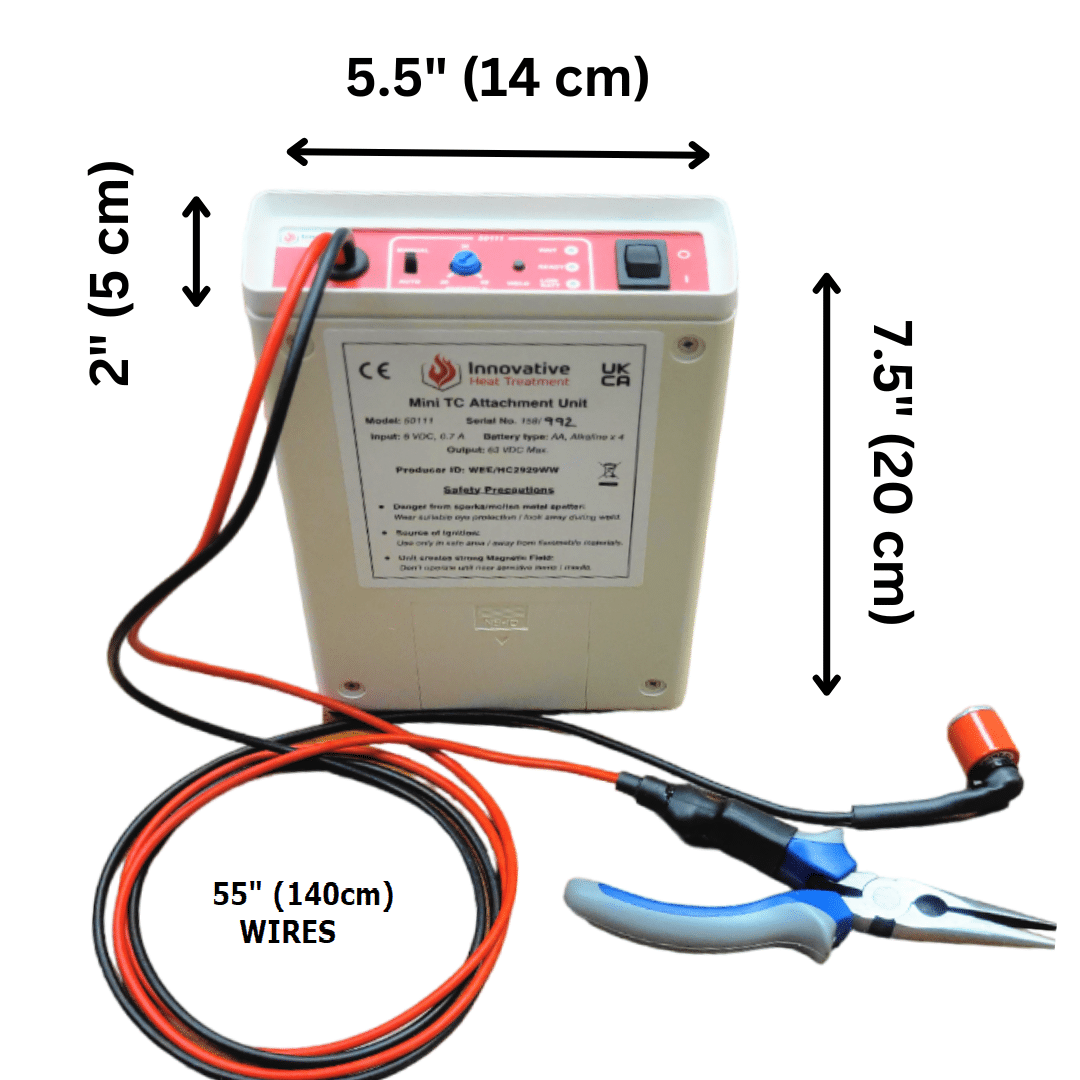
Weight 1.74kg (INCLUDES BATTERIES & CASE)
Max operating voltage 100V
Charge time 15 seconds at 30 joules
Discharge energy 20-50 Joules -37 to 60 volts
T/couple types Type K
Standard Wire size 0.711mm dia
Approx no of applications before re-charge 250
Battery 4 x AA alkaline batteries, with a
CATALOG # 50111
CERTIFICATIONS # ISO9001
DIMENSIONS # 137 mm L x 190 mm W x 45 H mm
WEIGHT 1.74 kgs or 2.5lbs

Mini-Weld Thermocouple Attachment Unit

mini weld-TAU-5

1. EASY TO USE.
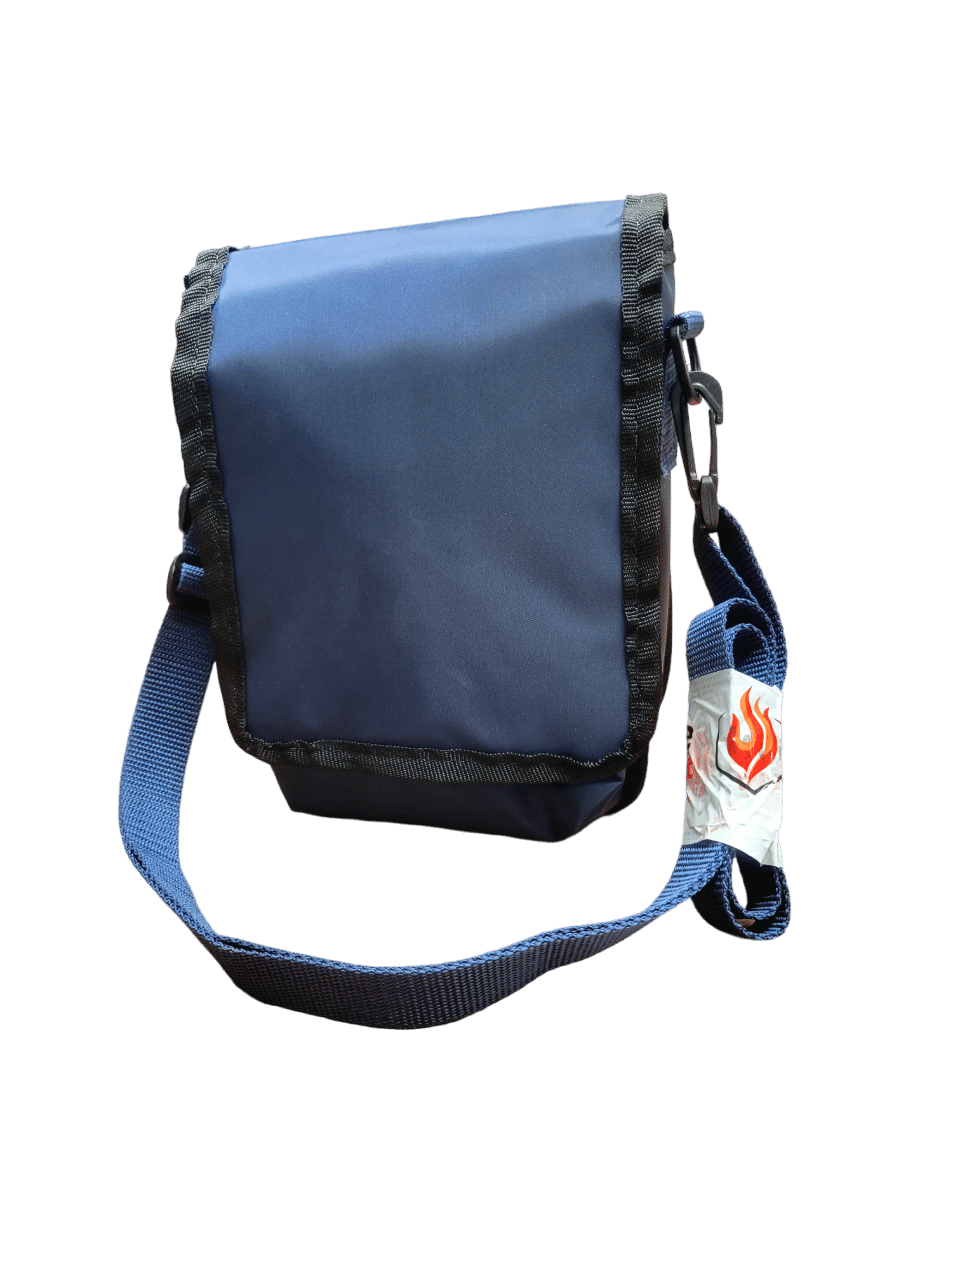
2. COMPACT CARRYING CASE.
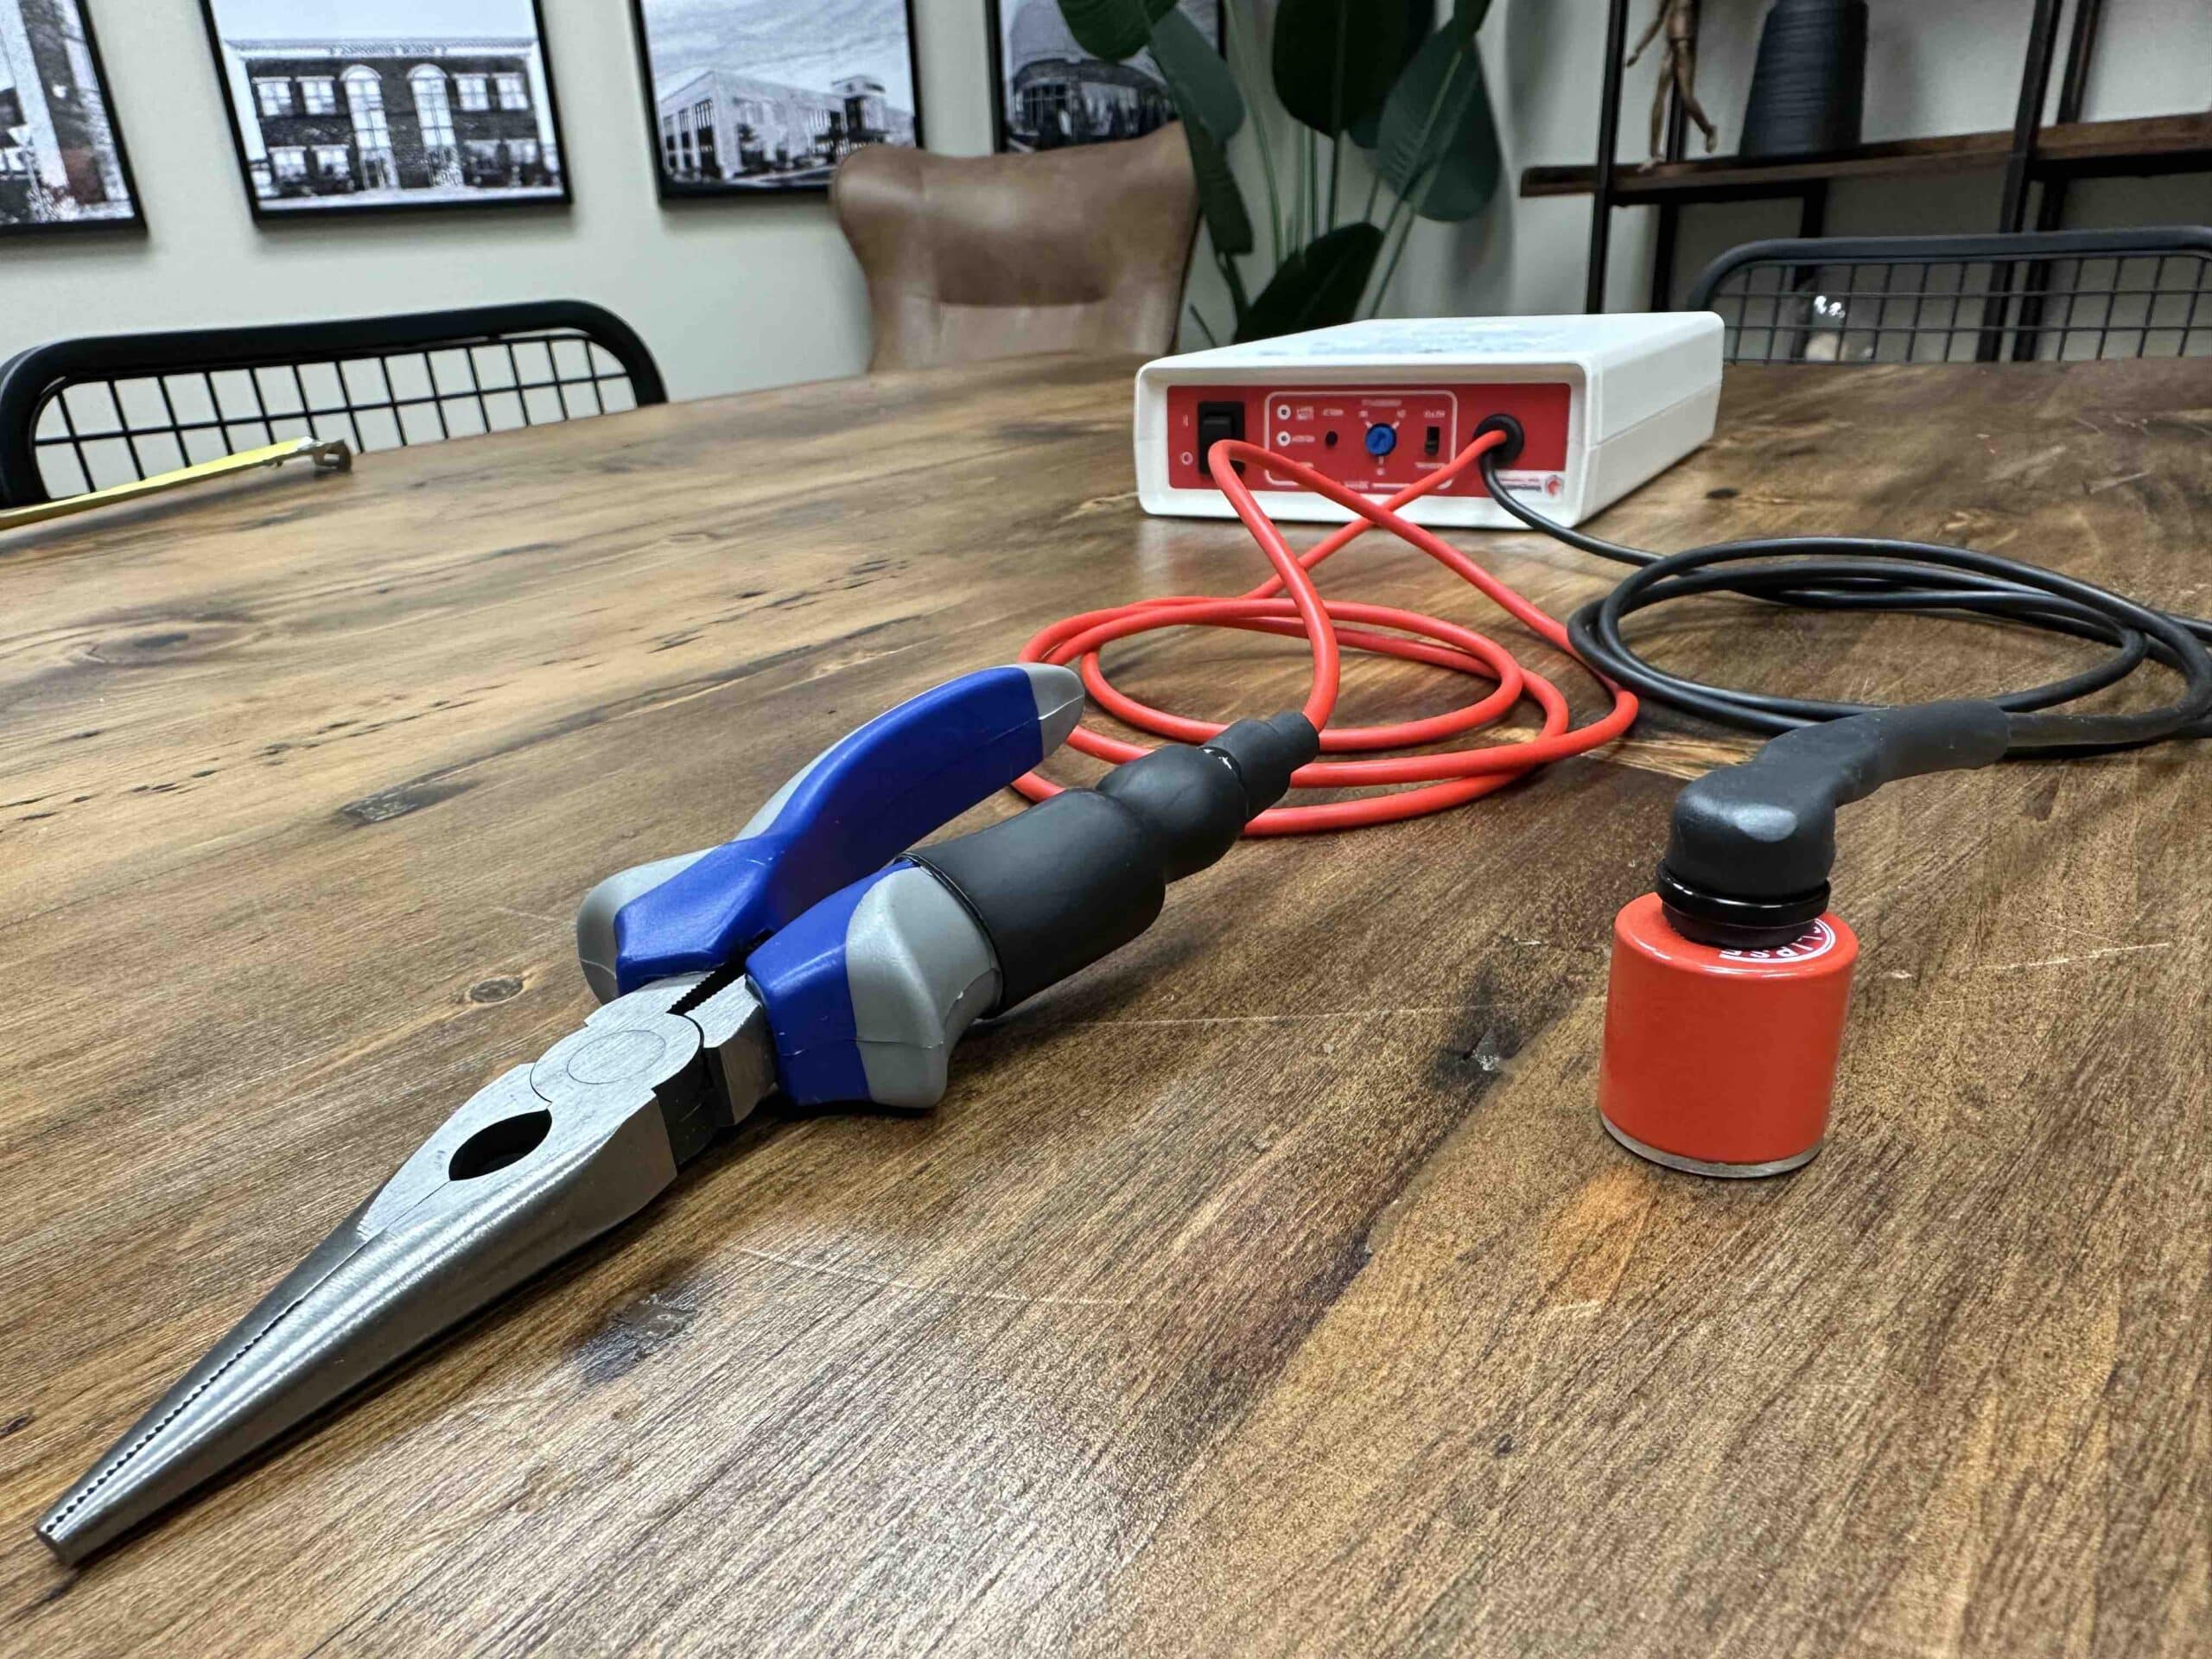
3. COMES WITH PLIERS AND MAGNET

Mini-Weld

Mini weld thermocouple attachment unit is small and pocket sized

FUNCTION OF MINI -WELD THERMOCOUPLE (TAU)

Mini-Weld Thermocouple Attachment Unit provides a reliable and extremely accurate method of temperature measurement of pre and post weld heat treatment processes by the direct attachment of thermocouples to the workpiece known as the capacitive discharge method.

Accurate temperature measurement is ensured by the attachment of thermocouple conductor wires directly to the metal surface by a spark discharge welding system. Accordingly, the metal surface becomes the hot junction of the thermocouple, so eliminating any inaccuracy associated with direct heat transfer from the heating source. After the wires are removed from the metal surface, it is usually necessary only to lightly dress the local area.

The Mini welding unit is significantly lighter and smaller than the standard unit and therefore is more portable. The unit is therefore particularly useful in locations where access is poor.

Applications
Variable, operator selectable 20 to 50 Joules energy output suitable for attaching various sizes of thermocouple wire. With its optional manual or automatic operating mode, it is ideal for attaching thermocouples on difficult to reach areas of the workpiece and where for

MAGNET

MINI -WELD THERMOCOUPLE ATTACHMENT UNIT

PLIERS

FEATURES

A compact, and lightweight portable unit. Powered by (4) four, 1.5V, AA batteries the unit uses the capacitancedischarge method for the attachment of a thermocouple wire to a workpiece, to allow temperature recording and control instruments to accurately read the temperature of the workpiece being heat treated.

HOW TO CREATE GOOD THERMOCOUPLES?

KEY POINTS:

  1. Remove loose scale or rust by wire brushing or other FILE suitable means.
  2. Dress a small area no more than 100mm from attachment point to bright metal for return magnet.
  3. Set the output to approx 80% of maximum output.
  4. Push back insulation on thermocouples conductor wire to expose 5mm of bare wire.
  5. Grip conductor wire 4mm from wire end with pliers & firmly touch wire end to attachment point at 90°
  6. Press discharge button
  7. Gently bend wire through 90° 3-4mm above surface.
  8. If weld is sound, repeat for second conductor wire.

MINI-WELD THERMOCOUPLE ATTACHMENT UNIT - DIAGRAM

OPERATION

  1. Ensure that the thermocouple wire is disconnected from any instrument that may be damaged by the high energy welding pulse.
  2. Clean any loose scale or rust from area where the wires are to be attached. Do not clean to brightness or polish, as the process requires a certain amount of resistance at the wire tip in order to initiate the arc.
  3. Effectively clean the area for the return lead magnet so as to reduce the resistance to a minimum. Fix the magnet as near to the thermocouple as possible.
  4. Strip the insulation from the thermocouple wires to leave approximately 6mm of bare wire.
  5. Set the energy adjustment knob to an appropriate setting for the size of the wire to be welded. Normal type “K” thermocouple wire is 0.711mm dia. and will need about 30 joules (which is the mid-point setting on the energy knob.)
  6. Switch the unit on by moving the on-off switch to either “AUTO” or “MANUAL”.
  7. Wait until the “WAIT” led indicator goes out and the “READY” led indicator lights up.
  8. Grasp one of the stripped wires, about 4-5mm from the end with the tip of the insulated pliers.
  9. Press the end of the wire to the work piece at 90° to the surface and maintain a firm pressure. If the unit is set to “AUTO” there will be a 1 second delay and the weld will occur automatically. If the unit is set to “MANUAL” the weld will occur immediately the “FIRE”, button is pressed. There will be a sharp crack and a slight arc flash. The wire should weld to the work piece. NOTE: – Do not look directly at the arc and warn on-lookers of your intent to weld. Suitable eye protection should be worn.
  10. If the weld does not occur due to bad contact, the “READY” led will remain lit, reposition the wire to ensure better contact and try again. When the weld is successful there will be a 1 second delay and the “WAIT” led will come on again as the unit prepares itself for the next weld. NOTE: – The “READY” led cannot come on and the next weld cannot be made if the wire is already in contact with the work piece in the “AUTO” mode.
  11. Repeat the process with the 2nd wire, placing it approximately 4 or 6mm from the first wire.
  12. Gently bend the wires over at right angles. This is required on most jobs so as to bring the thermocouple wires along or parallel to the surface of the work piece. It also tests the weld strength. Care should be taken to ensure the base wires do not touch together away from the welded junction.
  13. Cover the two wires at the point of weld within a blob of thermocouple putty (about 2cc’s)
  14. If a weld is not made for about 4 minutes the unit will shut itself down to conserve its batteries. To continue, briefly switch the unit off and then back on again. If at any time the Low Battery led lights up, then switch the unit off and replace the batteries.
  15. Switch the unit off when finished welding. If the MINIWELD is not be used for several weeks you are advised to remove the batteries in case of leakage.

MINI-WELD THERMOCOUPLE SPARE PARTS

Catalog # Description:
50125 MINI-WELD MOTHERBOARD CONTROL BOARD
50126 MINI-WELD LED SWITCH
50127 MINI-WELD PLIERS
50128 MINI-WELD MAGNET
50129 MINI-WELD PROTECTIVE CASE WITH CARRYING STRAP

SAFETY / CERTIFICATIONS

CYCLE TIME Approximately 15 seconds per weld at 30 joules
ENDURANCE Approximately 250 welds at 30 joules from new batteries
PROTECTION IP30. The mini-weld is not waterproof and should be protected in wet conditions
SAFETY BSEN 1010-1:1983
EMC BSEN 50081-1:1992 BSEN 50082-1:1998

EMC: EN61000-6-1:2001, EN61000-6-3:2001
LVD: EN61010-1:2001
Product is WEEE compliant

REMEMBER THAT THIS IS A PIECE OF ELECTRICAL EQUIPMENT AND IT SHOULD BE TREATED WITH THE RESPECT THAT ELECTRICAL UNITS DESERVE. NORMAL ELECTRICAL SAFETY STANDARDS APPLY.

Related Products

Related Products

Related Products

Related Products

Related Products

Order Procedure

shield

Registration

Leave the application on our website or by phone

telephone

The Confirmation

The manager will contact you for further details

delivery-cart

Delivery

We will gladly deliver your order soon

Translate »