


| Catalog # | Description: | ||
|---|---|---|---|

|
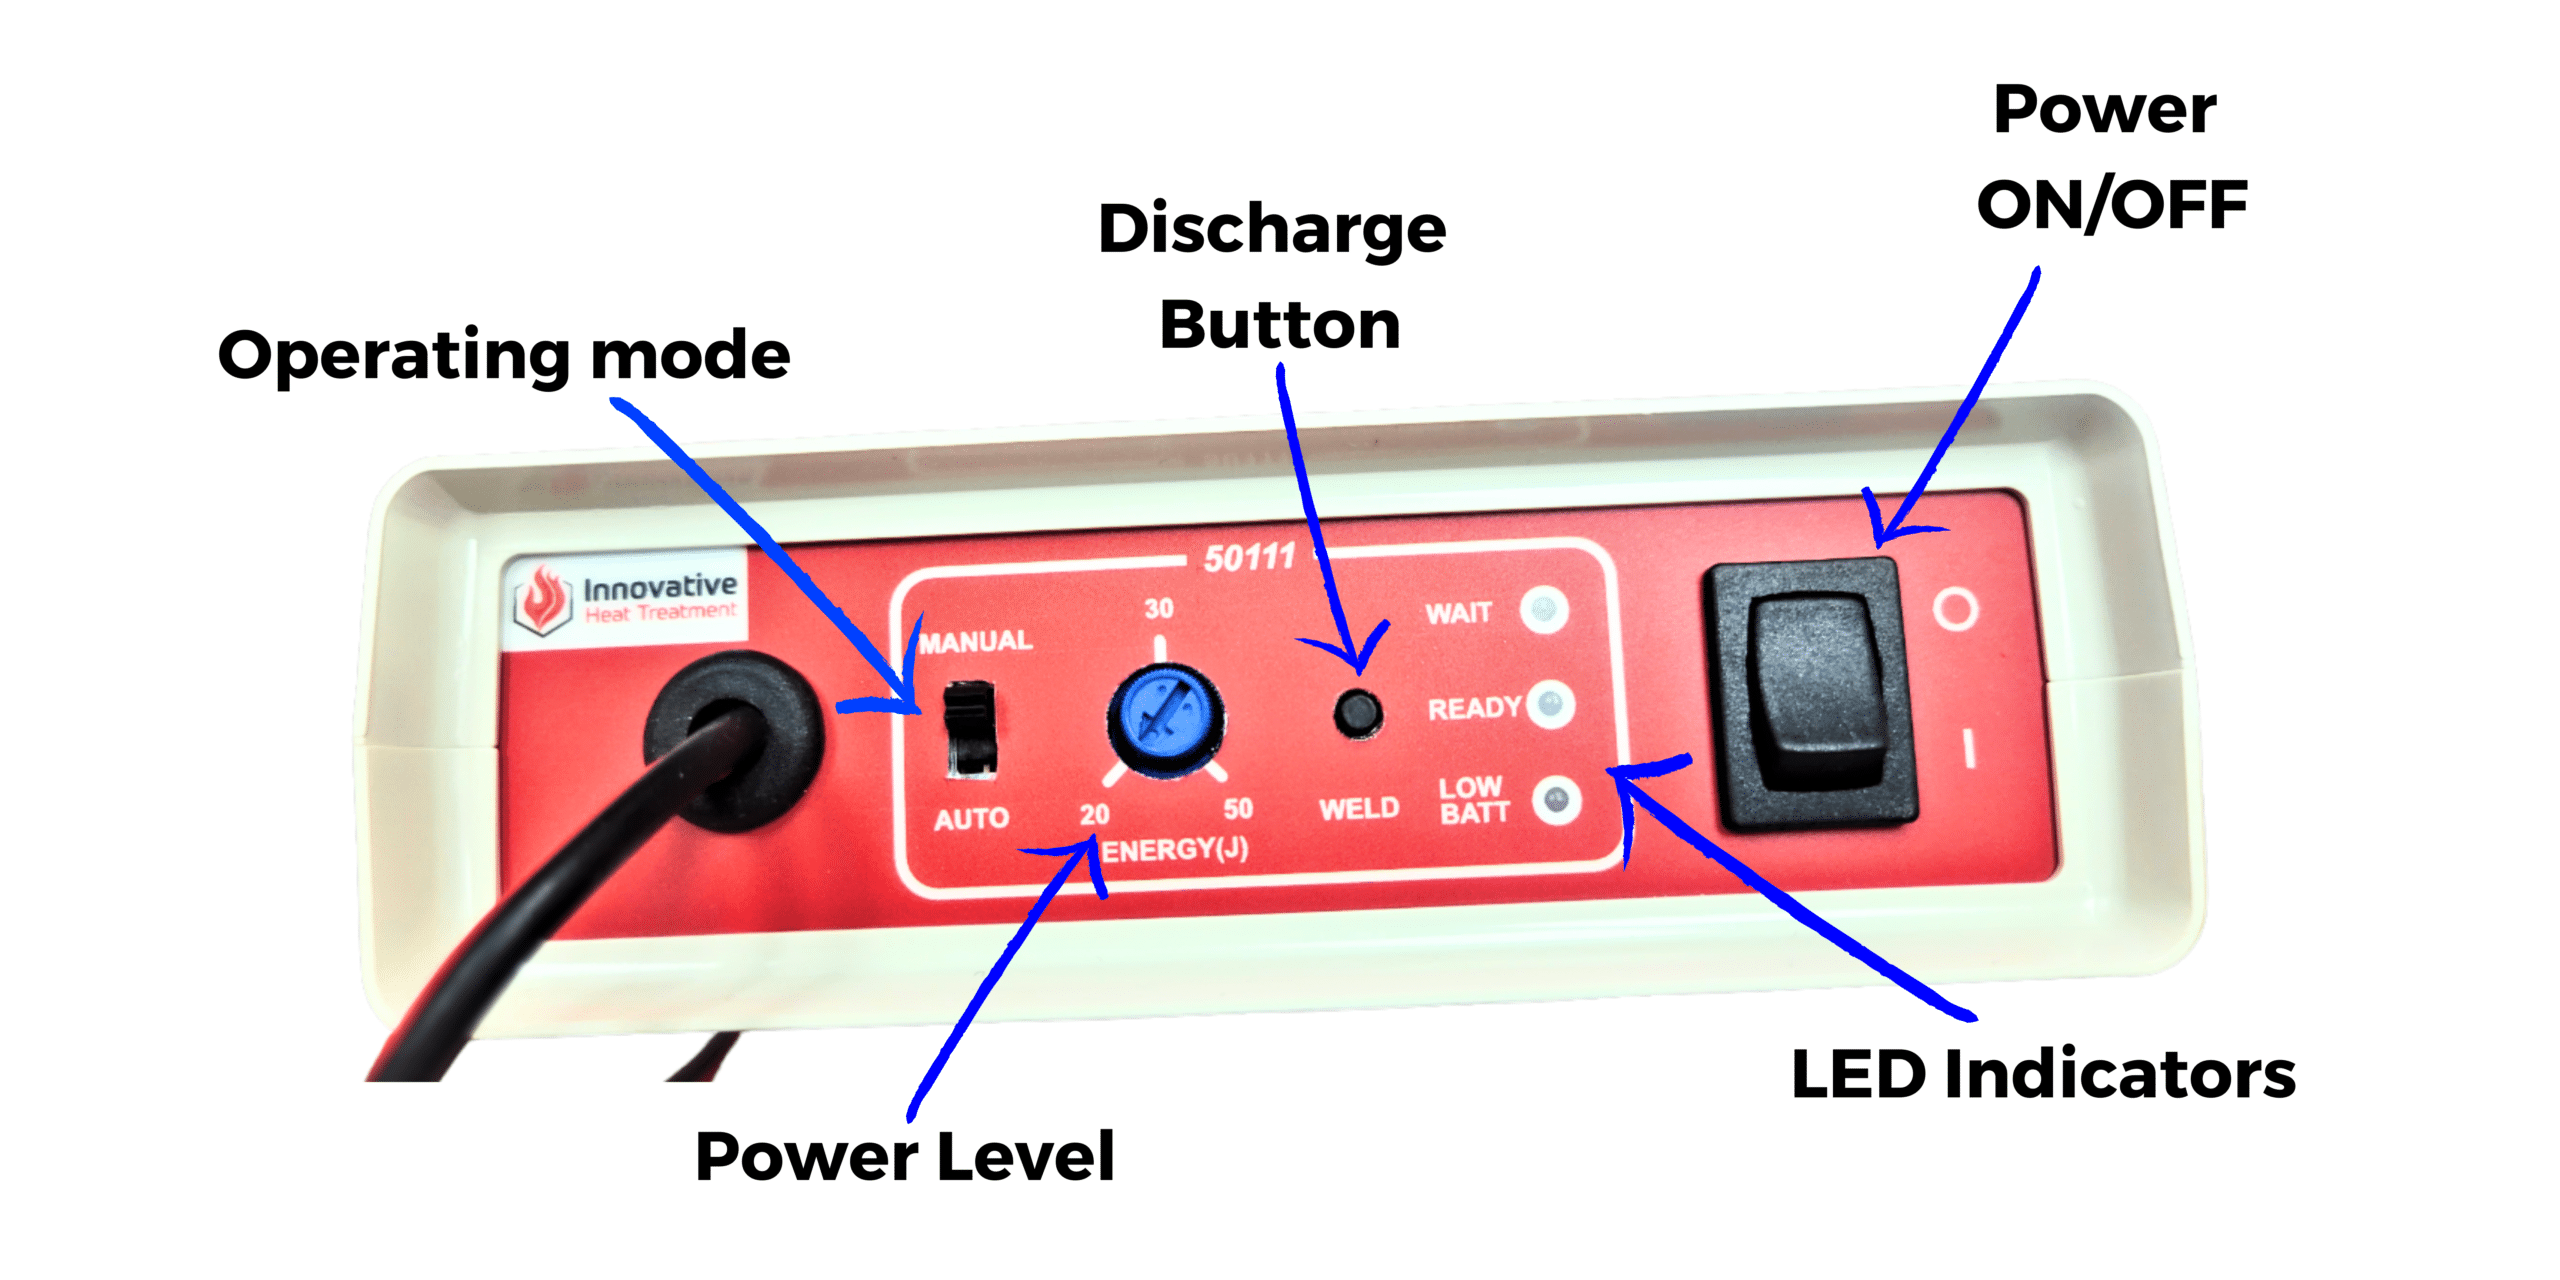
50125 | MINI-WELD MOTHERBOARD CONTROL BOARD |
|
| 50126 | MINI-WELD LED SWITCH |
|
|

|
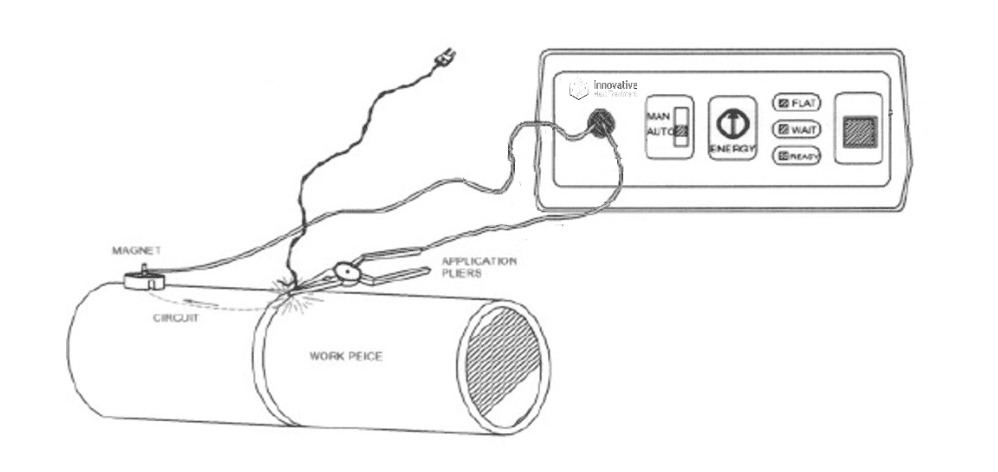
50127 | MINI-WELD PLIERS |
|

|
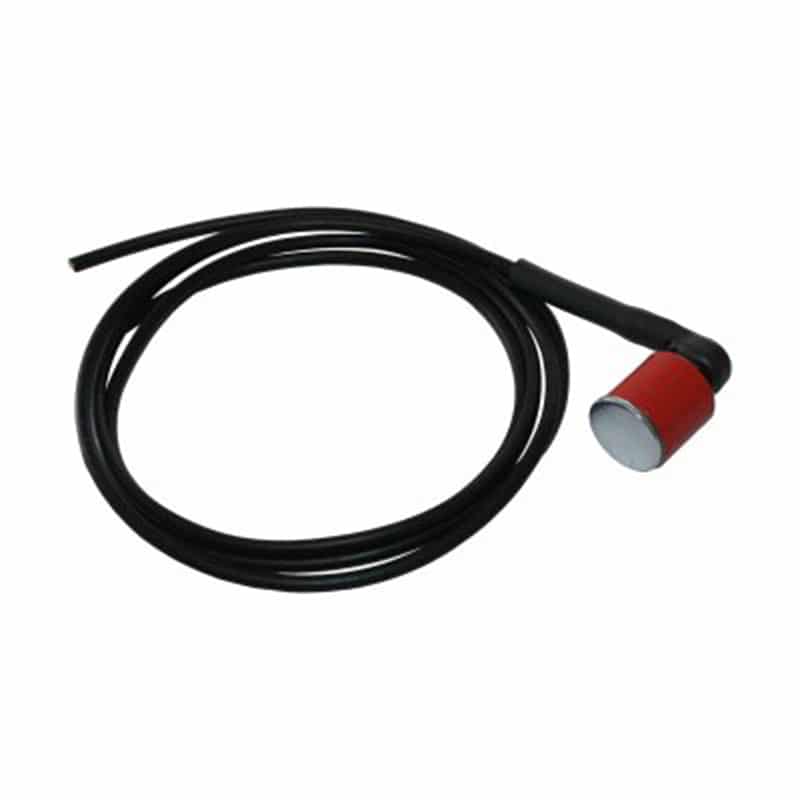
50128 | MINI-WELD MAGNET |
|

|
50129 | MINI-WELD PROTECTIVE CASE WITH CARRYING STRAP |
|

|
50158 | MINI-WELD: FRONT PANEL LED PCB BOARD |
|


")